

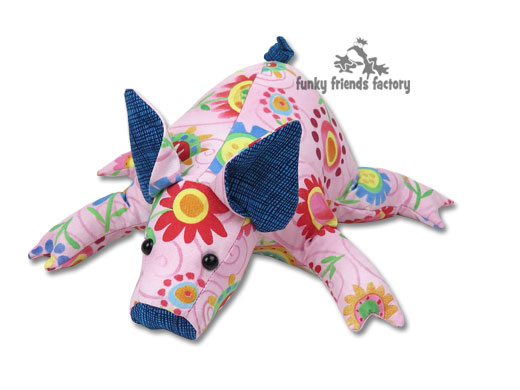
How To Make A Stuffed Animal Pig
Run into how to sew sweetness toy grunter
I made this photo tutorial then you lot can seehow to sew my Pig Sewing Pattern ~> scroll downwardly for step-by-footstep photos!
*** PLEASE NOTE – this in ONLY a Photograph TUTORIAL ***
The Total PATTERN IS NOTincluded here.
Information technology is Not A FREE PATTERN!
I have made this photo tutorial so people who have purchased my Petunia Squealer Sewing Pattern tin Come across how to sew my pig soft toy! (I wanted to explicate this so you lot are not disappointed if you take found this page via a search engine and non from the link in my Petunia PIG sewing pattern!)
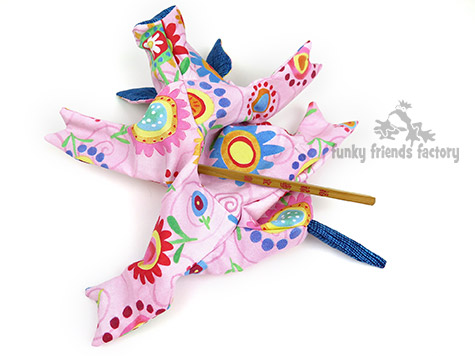
Pig toys don't need to be pink…
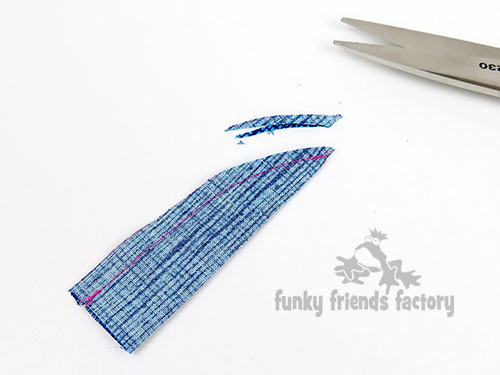
OK, we'll start with Piggy'south TAIL:
STEP ane
Fold the TAIL PIECE in half and sew together along the side seam as shown on the design piece. Trim the seam allowance at the tip of the TAIL PIECE and turn the tail right sides out.
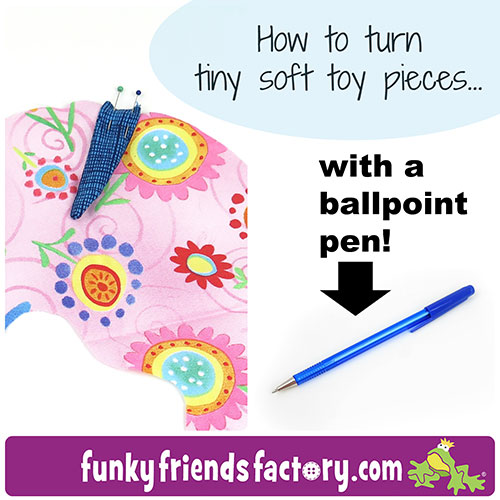
TIP: I have a weblog post to show yous how to plough pocket-sized softie pieces .
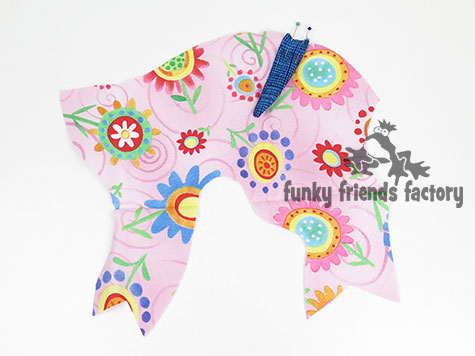
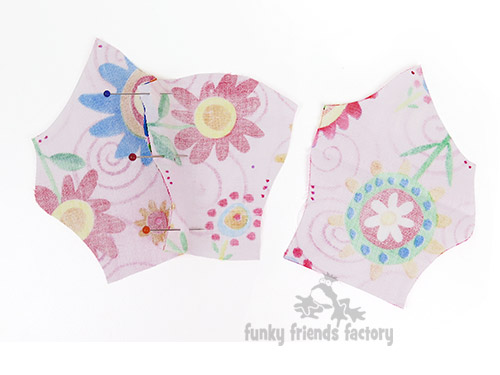
STEP 2
Pivot the TAIL Slice in position on the BODY PIECES as shown on the design.
BODY:
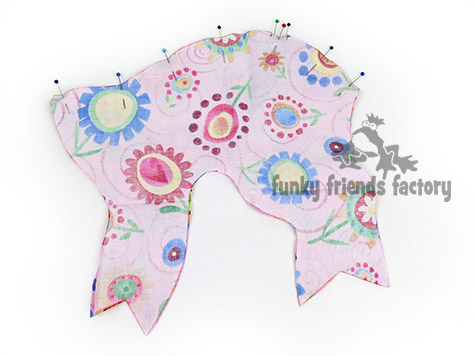
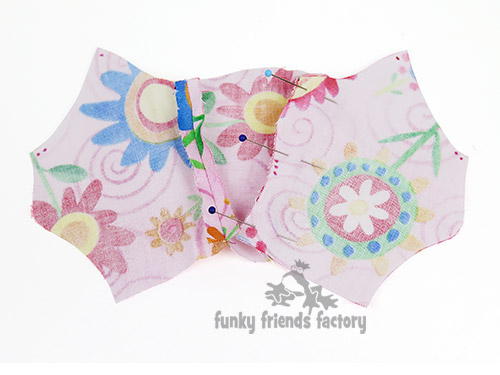
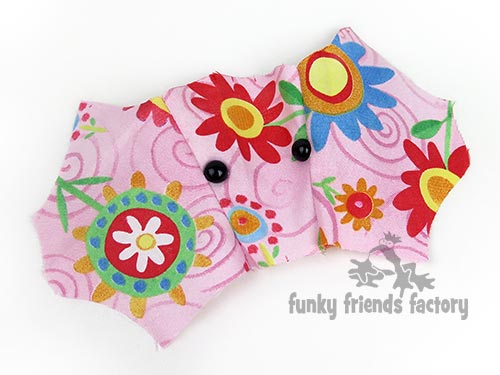
STEP three
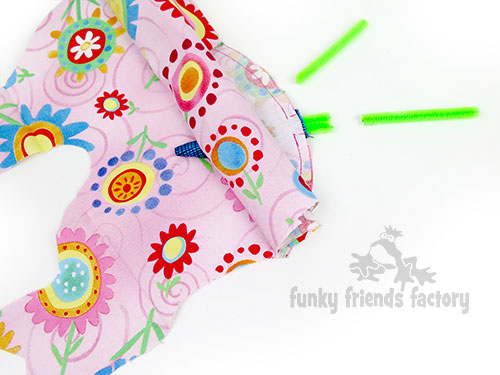
Pin and stitch the Body PIECES together from A – B, with the TAIL in between, leaving a gap for yous to push the wire/chenille stick into the tail later on you have sewn the BODY PIECES together.
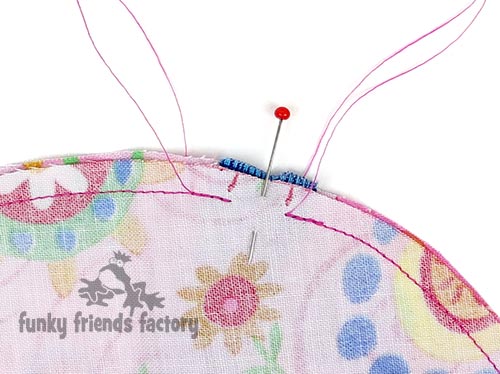
TIP: Here is a shut upwards photo for you to see the gap that must exist left for you to insert the wire for the squealer'southward tail.
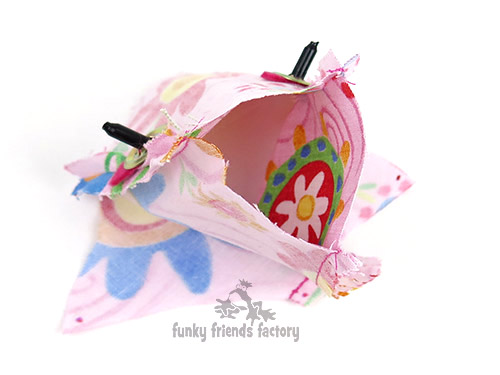
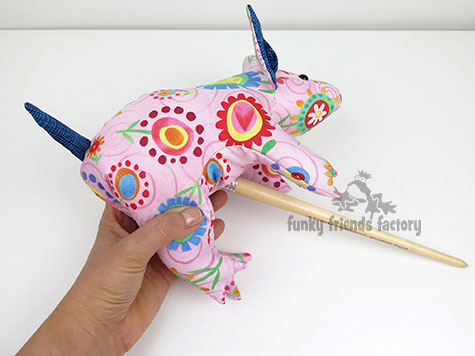
Pace 4a
Fold a piece of wire/chenille stick in one-half.
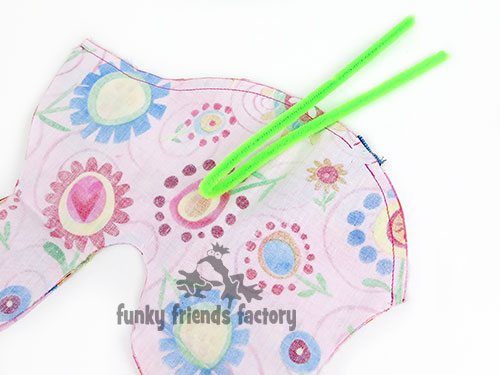
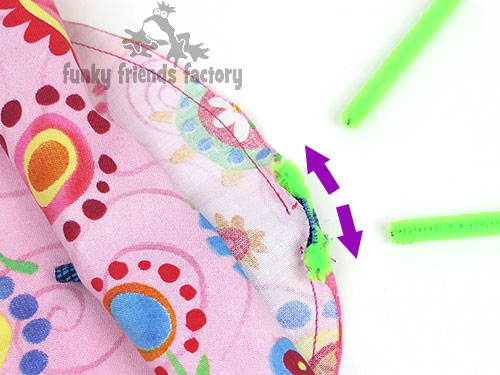
Stride 4b
Push the folded end of the chenille stick into the tail. Trim the ends of the wire so the ends stick out of the tail near 12mm(half an inch).
* I accept 'rolled back' the top Trunk PIECE and so you tin see
the TAIL PIECE in between.
TIP: Practise NOT to sew over the wire/chenille stick – it can harm your needle and your motorcar. Yous can fifty-fifty impairment your optics if your needle snaps! I like to fold the ends of the wire to each side and 'hibernate' them in seam.
Caput:
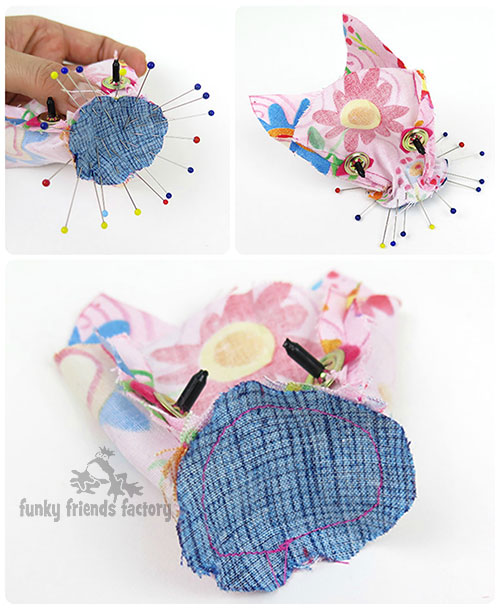
Stride 5a
Sew the Centre HEAD Slice to one SIDE Caput PIECE , from C – D, matching the 3 dots of the pattern markings.
STEP 5b
Sew the Heart HEAD Piece to the other SIDE HEAD Piece , from C – D.
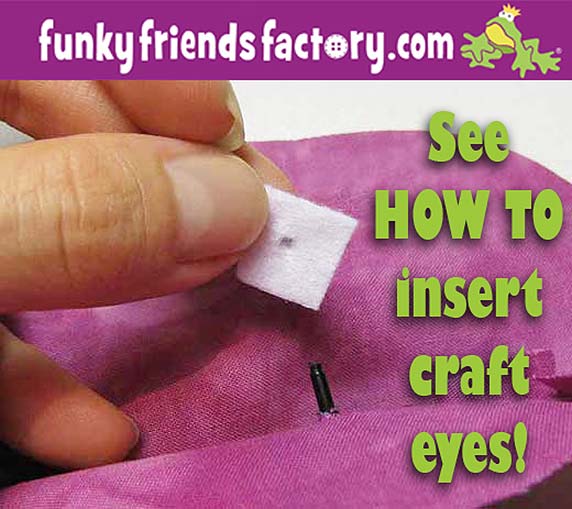
STEP 6
If yous are using craft eyes, insert them at present.
TIP: I have a tutorial to show you how to insert craft eyes on my blog. Click the film below to cheque it out!
STEP 7
Run up the SIDE HEAD PIECES together from E – F.
* I have shown this with a majestic arrow in the photo below.

TIP: This creates a 'circular gap' for the SNOUT PIECE .
*It looks like a triangle shape in the photograph below!
SNOUT:
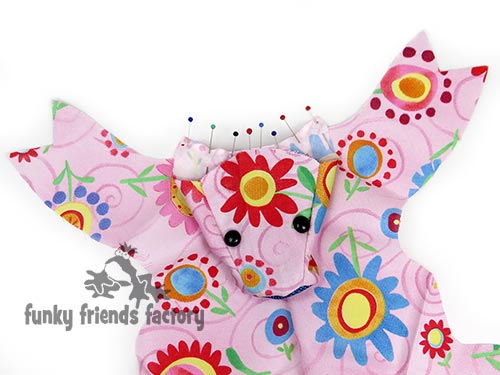
Pace 8
Pin the SNOUT PIECE in place, matching F and Grand. Stitch the SNOUT PIECE to the Caput PIECES by hand. (Use a back stitch and tight stitching.)
Can I sew the SNOUT in place with a sewing machine?
It is much harder to stitch the SNOUT PIECE in identify by automobile just information technology CAN exist done! Add extra pins betwixt the ones you have already pinned. This is and so that the SNOUT PIECE cannot sideslip as you lot sew it in place. Turn the pieces over and sew them with the SNOUT PIECE downwardly. I accept had a LOT of do doing this, so I recommend sewing it by hand if you are NEW to making soft toys! 😀
UNDERBELLY:
STEP 9
Sew the UNDERBELLY PIECES together at the center, sewing from Due east – B, leaving a gap equally indicated for turning and stuffing your pig.
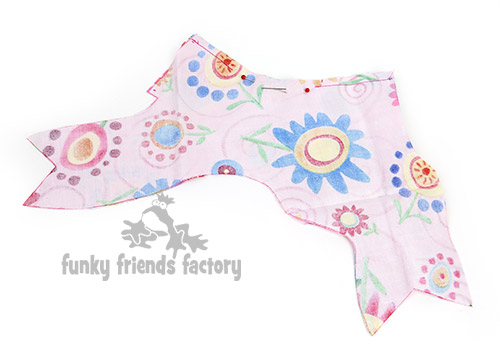
Stride x
Run up the UNDERBELLY PIECES to the SIDE HEAD PIECES at the neck seam, from H – Eastward – H, and matching the dots of the pattern pieces.
EARS:
STEP xi
Place the fabrics for the EAR PIECES right sides together and sew along the sewing line for both ears.
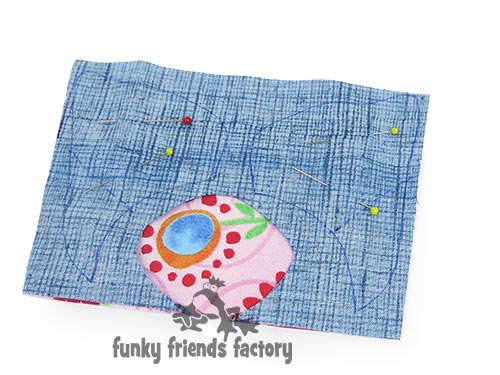
Footstep 12
Cut out the EAR PIECES with a 5mm/¼ inch seam around this sewing line and plow them correct sides out.

Pace 13
Fold the EAR PIECES , using the fold line of the design markings to guide you, and pin in this position.

Pace 14
Pin the EAR PIECES to the Caput PIECES , using the design markings to guide you. Drip/tack the EAR PIECES in position with the fold of the EARS facing the front (touching the Head PIECES !).
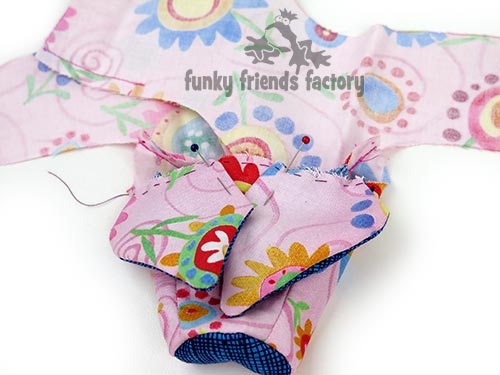
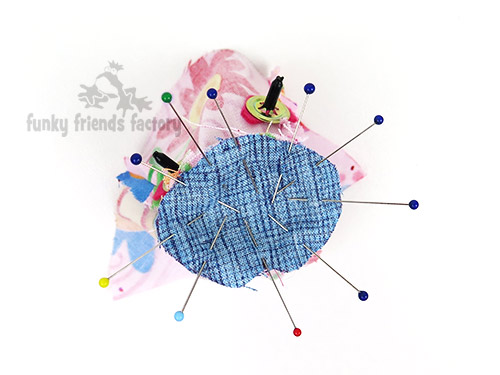
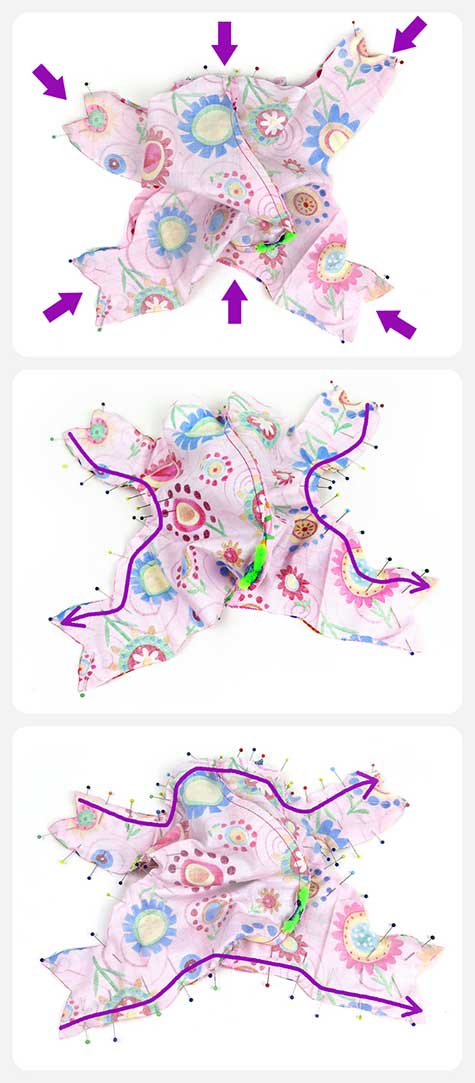
Pace xv
Pivot the EARS, Head PIECES & BODY PIECES to the UNDERBELLY PIECES , recollect – correct sides together! 😀

TIP: I find this easiest if I practise it in 3 steps. Beginning pin the 4 trotters together and pin points A at the front end and B at the back. Next I pivot the piggy's together on both sides betwixt the front and back trotters. Lastly I pin the rest of the front and back seams. Utilise LOTS of pins and so the pieces don't slip as yous sew together this last seam!
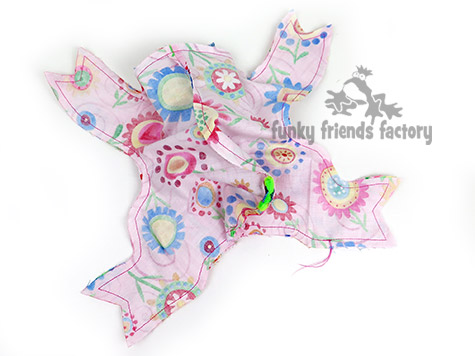
STEP 16
Run up EARS, Caput PIECES & Torso PIECES to the UNDERBELLY PIECES without leaving a gap.
STUFFING and FINISHING:
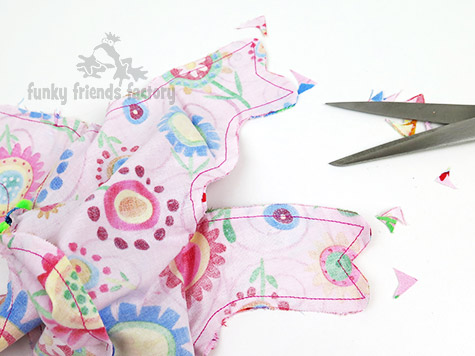
Pace 17
Trim the seam allowance at the points of the trotters.
STEP 18
Turn your pig right sides out through the gap left on the UNDERBELLY PIECES .
Stride xix
Stuff the HEAD with toy stuffing. If yous are embroidering the eyes, do them now.
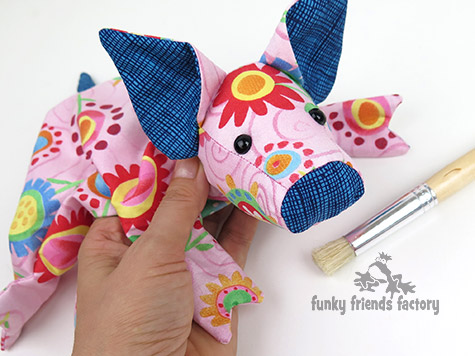
TIP: I use a kid'south paintbrush to push the toy stuffing into the head nice and firmly.
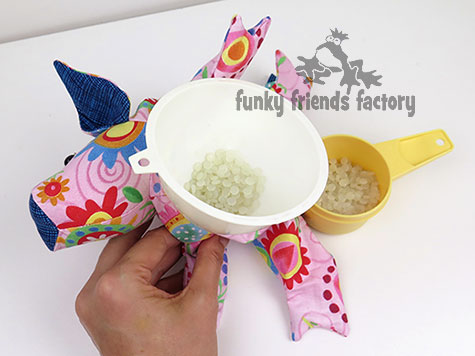
Step xx
Fill up the artillery, and legs with plastic pellets. Do non overfill the arms and legs – they demand to flop like a bean purse.
STEP 21
Fill the rest of the body with toy stuffing.
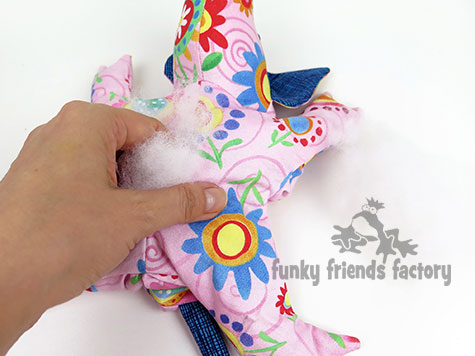
Push the toy stuffing into the torso of your piggy to fill up the back surface area nicely…
Turn the piggy over to cheque the torso has a nice shape!
* Add more toy stuffing if in that location are wrinkles in the pig'due south back.

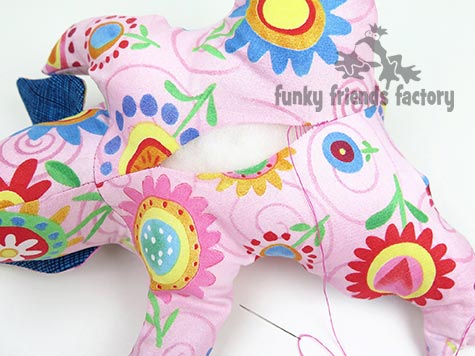
Stride 22
Utilize a ladder stitch to close the opening on the UNDERBELLY PIECES .
STEP 23
Curlicue the tail to brand a characteristic piggy gyre.
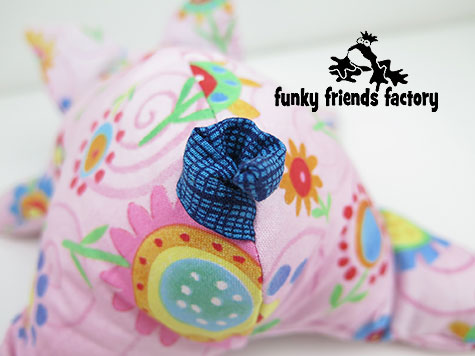
Your Piggy is ready to LOVE!
Come join the fun on Facebook!
![]()
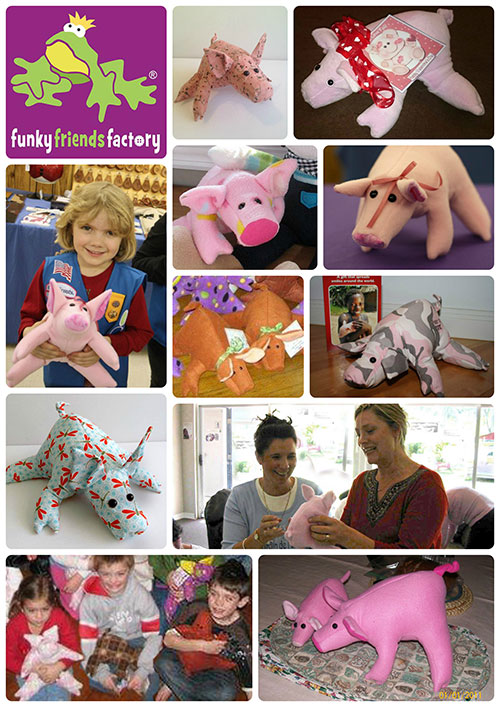
I LOVE to meet how your Funky Friends toys turn out!
When you've made your ain blimp toy hog ~>
Post a photo on my Funky Friends Factory Facebook page for me to meet and Y'all could win a Complimentary PATTERN!

Till side by side fourth dimension,
Happy Sewing,
Pauline
Source: https://www.funkyfriendsfactory.com/blog/see-how-to-sew-sweet-toy-pig/
Posted by: colemancion1967.blogspot.com
0 Response to "How To Make A Stuffed Animal Pig"
Post a Comment