

How To Change Oil Filter On A 2008 Toyota Tundra
Introduction
Changing the oil and oil filter of a Toyota Tundra a simple but a necessary task. It should be done every three months or every 3000 miles, which ever comes start. Post-obit these steps will bear witness you how to properly alter your trucks oil. The aforementioned process can be followed for 2007-2013 Toyota Tundra's.
Before getting started, note that a jack was not used in this oil modify. A jack should never exist used to practice a oil alter because of the safety take chances associated with it.
-
-
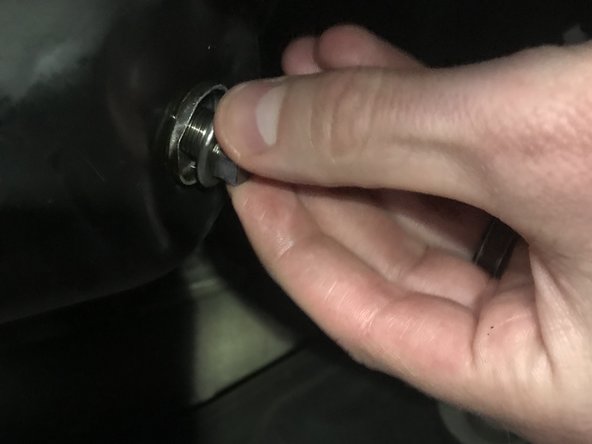
Begin by locating the skid plate. The Skid plate is attached by 5 Hex screws and 3 plastic servant nuts. First, remove the 3 plastic retainer nuts past pulling on them until they are released.
-
-
-
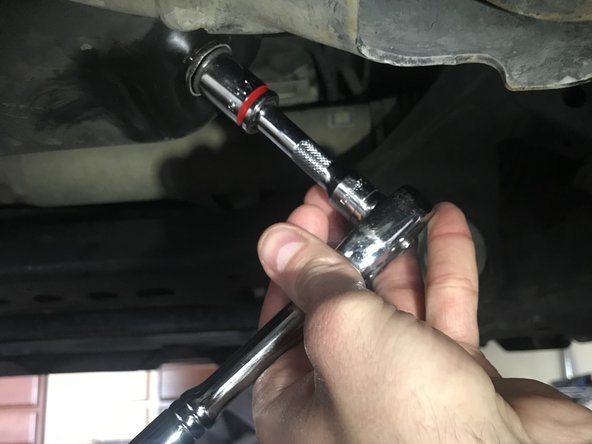
Side by side, obtain a socket wrench and ¼ extended socket. Start removing the 5 Hex screws. Remove the screws in a star blueprint. Caution earlier removing the last 2 Hex Screws, take someone or something property the skid plate so it does not autumn.
-
-
-
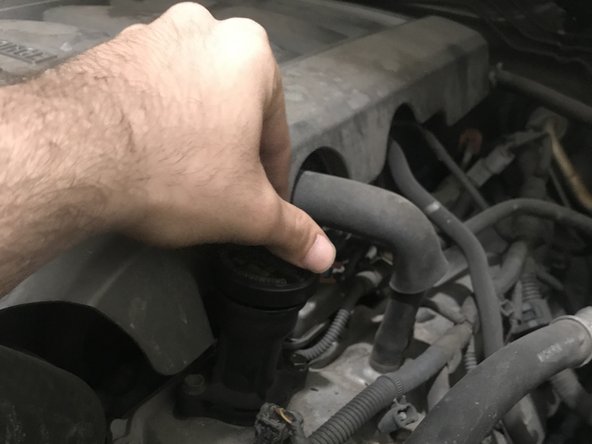
Open up oil fill cap and pull out dipstick slightly to allow for an open organization when draining. These are located under the hood
-
-
-
Locating the drain plug on the oil pan. Identify bleed pan underneath the drain plug in order to take hold of the sometime oil.
-
Using a ratchet and fourteen mm socket, turn the drain plug counter-clockwise until drain plug comes out and oil starts to drain. Caution, oil may be warm if machine had been operated within xxx minutes
-
-
-
Remove whatever gasket material from the drain plug and replace the sealing gasket. Screw the oil drain plug back into oil pan . Tighten until snug, do not over tighten
-
-
-
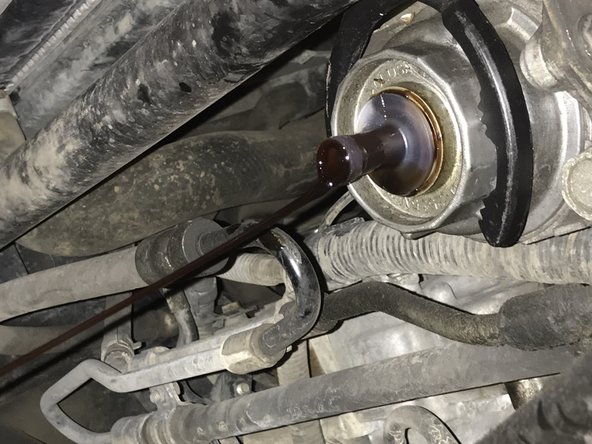
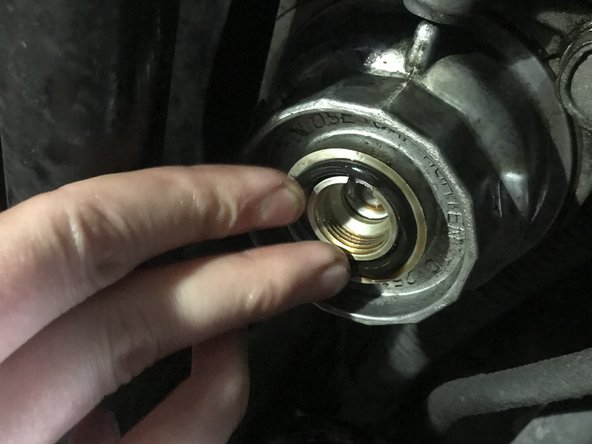
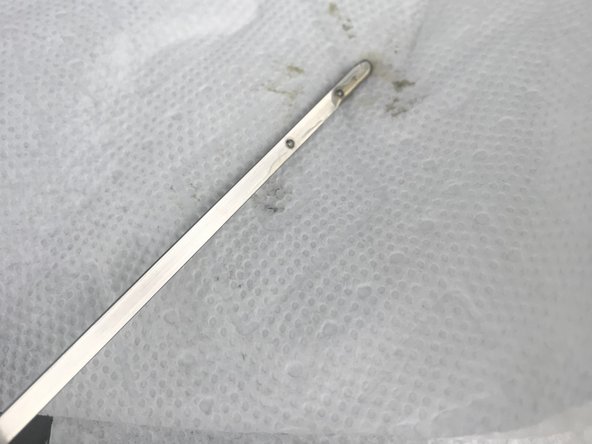
Locate the oil filter and begin to remove the oil filter cap. To do and then, first grasp the oil filter canister with an oil filter wrench.
-
And then insert a ⅜ socket and slowly turn counterclockwise to loosen only the oil filter cap. This will expose the oil filter drain bypass.
-
-
-
Place drain pan underneath oil filter and firmly Insert oil filter cap drain tool. This comes with the filter when you lot buy it. Oil will begin to drain from inside the filter canister.
-
When draining has stopped, remove drain tool by firmly pulling down.
-
-
-
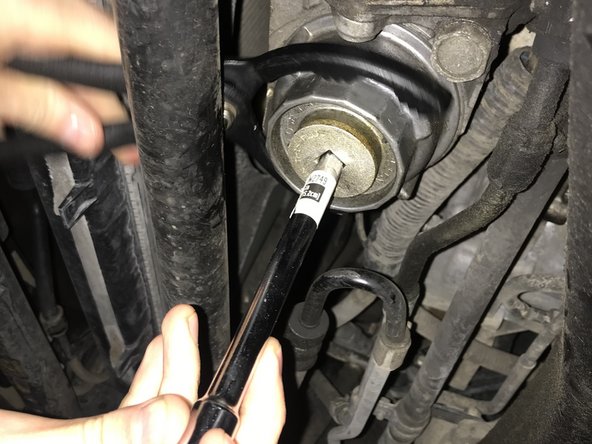
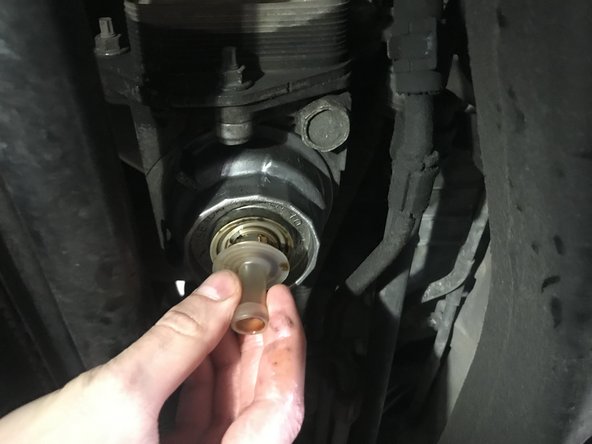
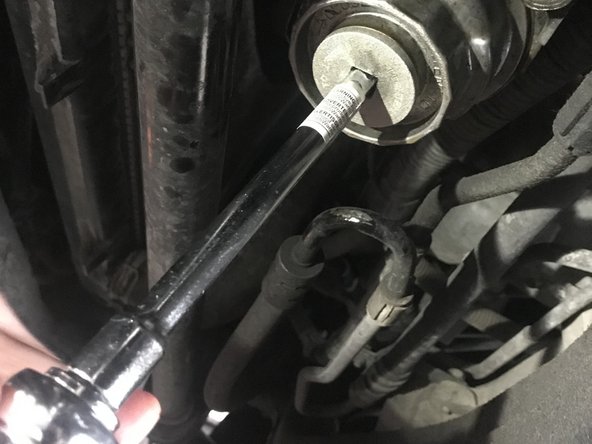
To remove oil filter canister, apply an oil filter wrench. Unscrew past turning counter-clockwise.
-
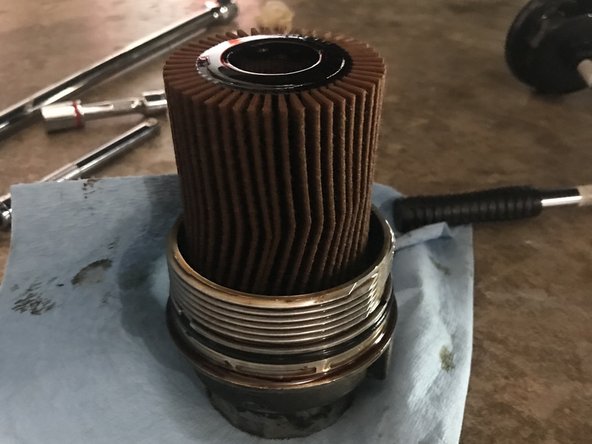
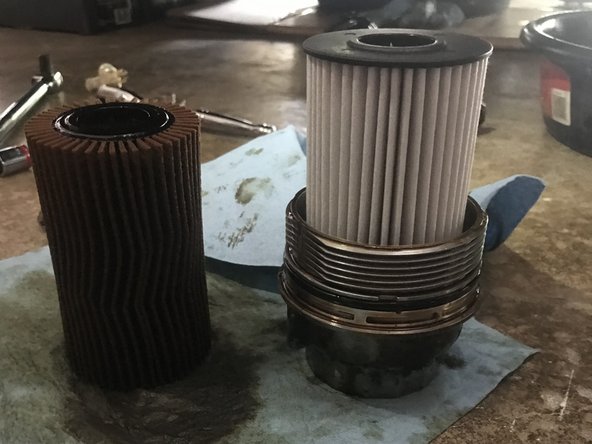
Remove the old oil filter from oil filter canister and supplant with the new ane.
-
-
-
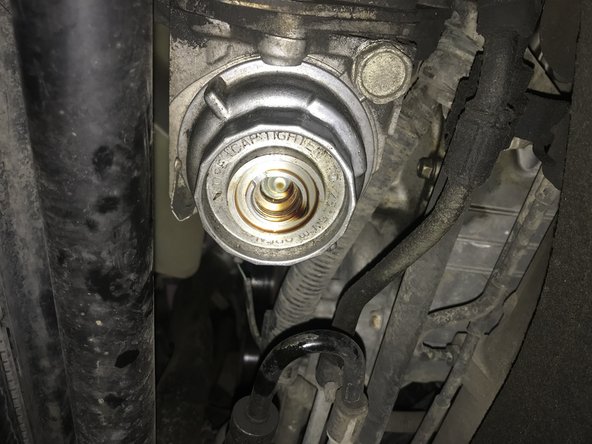
Re-install oil filter canister. Tighten oil filter canister to 20-30nm
-
Supersede oil filter gasket to insure the oil filter will not leak. This comes with the new oil filter
-
Reinstall oil filter cap. Tighten until snug, do not over tighten
-
-
-
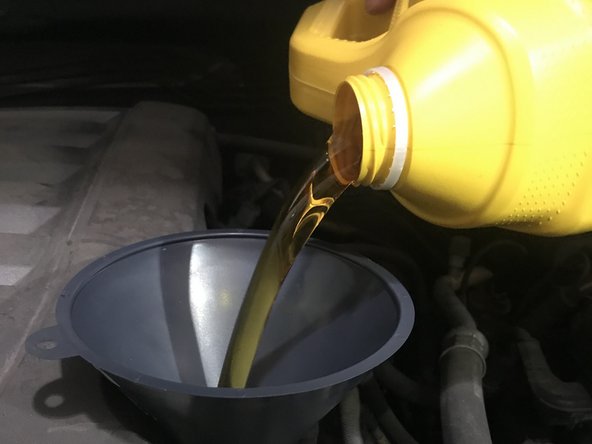
Using a funnel, pour in the new oil into the engine. Consult owners manual to see proper oil to utilize as well as amount of oil to add
-
Reinstall oil make full cap once filling oil is consummate
-
-
-
Pull the dipstick out in smooth upward move, wiping off the dipstick, reinstall, and pull the dipstick out in one case more than to check level. Oil should exist between dots on the bottom of dipstick
-
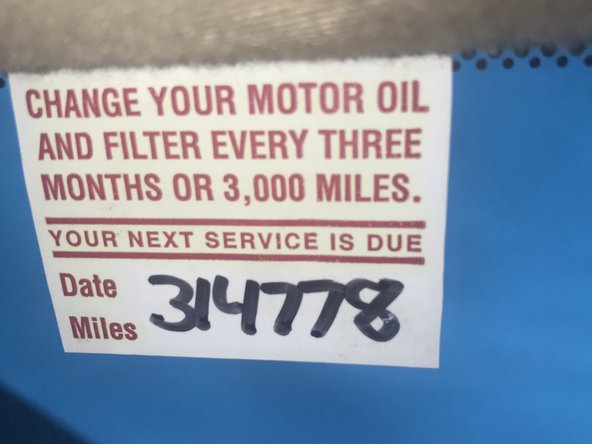
Write down date of oil change and amount of miles on vehicle to indicate when you should alter your oil again.
-


Conclusion
Irresolute your cars oil is the most important maintenance process that should be done for your vehicle. It can easily be done at dwelling rather than taking it to an practiced and being charged farthermost amounts.
Embed this guide
Choose a size and re-create the lawmaking beneath to embed this guide as a small widget on your site / forum.
Preview

How To Change Oil Filter On A 2008 Toyota Tundra,
Source: https://www.ifixit.com/Guide/2008+Toyota+Tundra+Oil+Change/142433
Posted by: colemancion1967.blogspot.com
0 Response to "How To Change Oil Filter On A 2008 Toyota Tundra"
Post a Comment